On Sharpness
2019-07-15There’s a saying photographers use a lot. “That photo is sharp as a tack.” If you are a professional photographer who has been taking pictures for a long time, you most likely already know the difference between “pretty sharp” and “sharp as a tack”. When I was starting out, I did not.
I would get my RAW photos into Lightroom after a trek through the jungle, zoom in 100%, and think, “Awesome, that image is tack-sharp!” It wasn’t. Almost none of them were. I was shooting on a garbage lens, without stabilization, in dark light. Even a seasoned pro would have had trouble capturing tack-sharp images in those conditions.
Even now, after years of shooting wildlife, I zoom in on a photo in Lightroom and think, “Awesome, I got it,” only to continue down the line, zoom in on another, and realize the first one was not nearly as sharp as I want it to be.
The reason for this is simple: it’s all about relativity.
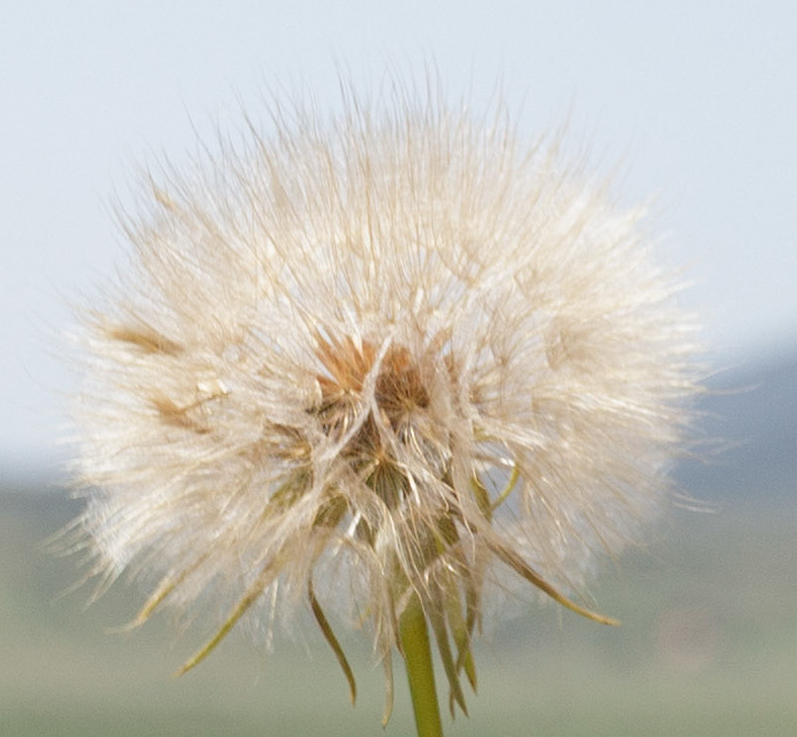
If you have not yet seen a similar, sharper photo to compare it to, the following image probably looks pretty sharp.
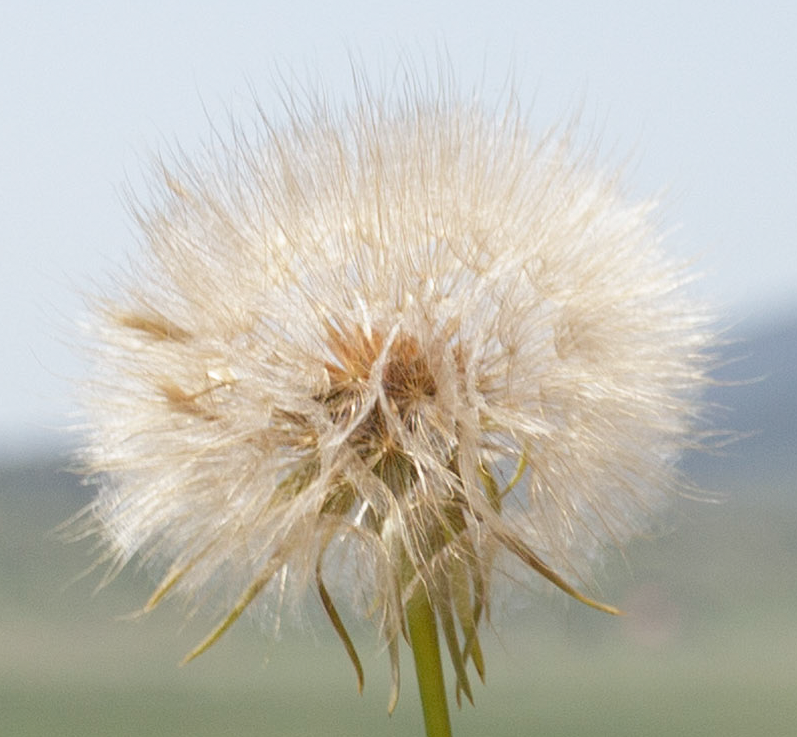
But, if you now look at the following image, and then back at the first, the second all of a sudden becomes sharp-as-a-tack, and the first, well, not so much. I would probably go ahead and mark that one for deletion.
Here they are side-by-side to really compare.
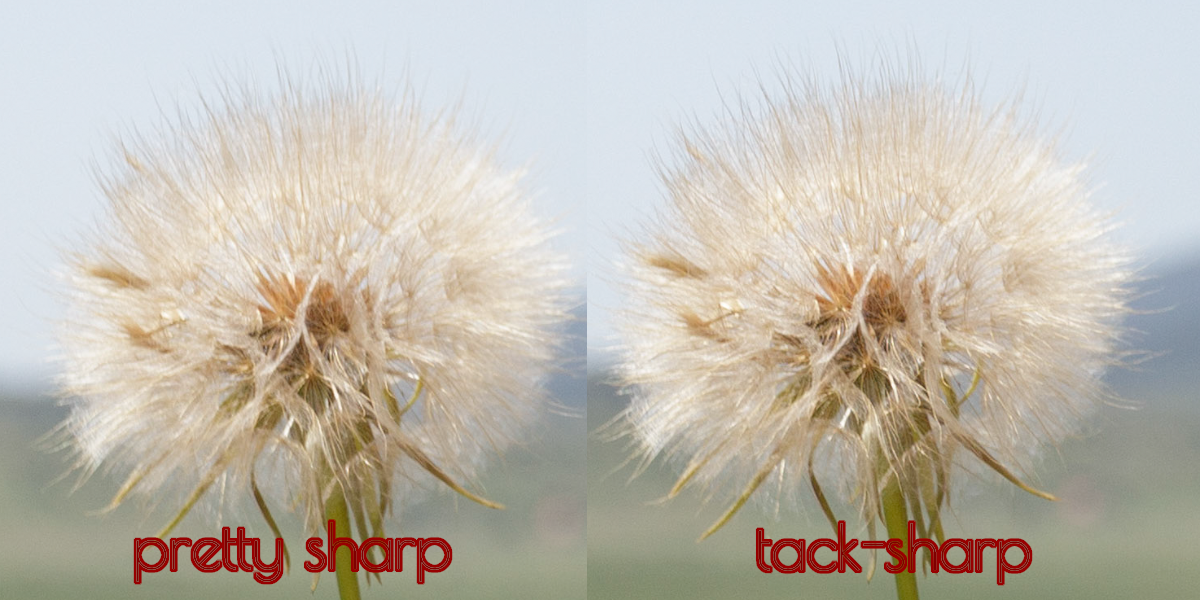
Look at the “hairs” at the top of the dandelion on the right. Do you see how much crisper the lines are? They follow all the way down to the stamen like that, just as crisp. There’s just a hint of blurriness to the “hairs” on the left image.
That’s the difference between “pretty sharp” and “tack-sharp”.
Now you may think I just took a blurry image for this comparison to prove my point, but this is a photo I thought was sharp before looking at the next, sharper image. I have gotten better at picking this out over time, but I’m still no expert. It happens often that I get my images on the computer and pick out a favorite, only to realized a few images later that it was not nearly as sharp as I first decided.
I encourage you to keep a tack-sharp image in your Lightroom catalog that you can reference when you get back from a shoot. Compare the images you think are sharp to the one you know is sharp to be certain you are picking the right ones. Most of the time they look fine when you zoom back out, but as a professional, fine is not what I’m going for.
If you want to stand out from the crowd, read this article again and let it really sink in. Go back through some of your recent photos and see if you notice some differences in the sharpness of a batch of images.